Shape lessons for lovable characters · sketch one today
Character design · lesson track

From Blob to Personality

Every character you love started as something embarrassingly simple: a blob, a bean, a lumpy potato with dots for eyes. Character design is the craft of turning that blob into someone, a figure with a mood, a habit and a way of standing that tells you who they are before they say a word.

This lesson follows the loop working designers use: sketch lots, simplify hard, repeat until the character holds together from every angle. Keep a pencil handy; every section ends with something to draw.
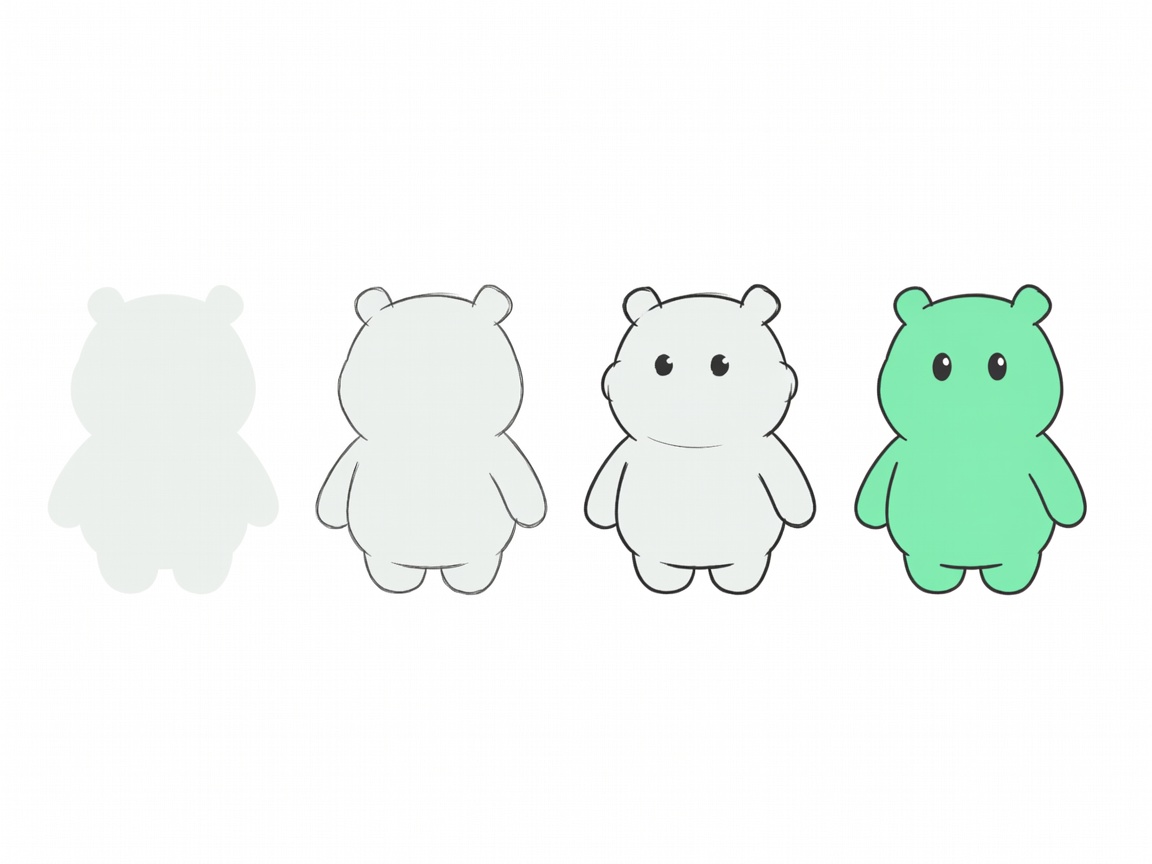
Flat vector sequence showing a plain blob evolving through four stages into a finished mint mascot with eyes, ears and arms
Why blobs first

Start with the silhouette

Faces, buttons and patterns are tempting, but they are the last thing anyone notices from across a room. What we read first is the outline. Animators at Disney and Warner Bros. famously tested characters by filling them solid black: if you can still tell who it is, the design works.

So begin with filled shapes, not lines. Use a thick marker or the fill tool and draw a dozen blobs: a pear, a teardrop, a marshmallow, a peanut. Pick the three that already feel like they have an attitude.

The science of cute

The baby schema

In 1943 the Austrian ethologist Konrad Lorenz described the Kindchenschema: features such as a large head relative to the body, big low-set eyes, round cheeks and short limbs trigger a caring response in adults. Designers lean on this constantly.

Practical translation: put the eye line below the middle of the head, keep the mouth small, round every corner and shorten the arms. Then break one rule on purpose so your character has a quirk.

Sketch stages

Your first sketch in five stages

  1. Blob page. Twenty silhouettes, two minutes each. No faces allowed yet.
  2. Pick and stack. Choose one blob and break it into a head shape and a body shape. Circles over rounded squares are a safe start.
  3. Place the face. Two dots for eyes, set wide and low. Try five spacings and keep the one that makes you smile.
  4. Add one signature feature. A leaf sprout, a single tooth, oversized ears. Just one, so it becomes memorable.
  5. Clean line and flat colour. Trace your favourite version with an even line and fill it with three colours.
Proportions

Head-to-body ratios

Measure height in “heads”. The fewer heads tall, the younger and cuter the character reads.

StyleRatioFeels like
Chibi / super-deformed1 : 2Stickers, toys, pure cute
Classic mascot1 : 3Friendly, energetic, flexible
Cartoon youth1 : 4–5Expressive kids' show cast
Natural adult1 : 7–7.5Grounded, realistic
Heroic1 : 8–9Superheroes, action leads

Eye line tip: for cute styles, set the eyes 55–65% of the way down the head.

Simplify

Amplification through simplification

In Understanding Comics (1993), Scott McCloud argues that stripping a face down to essentials does not weaken it; it amplifies the meaning that remains and lets more readers see themselves in it. That is exactly why Dick Bruna's Miffy, first published in 1955, needs only two dots and a little cross.

Exercise: list every element in your design. Remove anything that does not change the character's personality. If removing it changes nothing, it was decoration.

Personality

Pose before props

Personality lives in posture. A forward lean reads as curious, a back arch as proud, knees together as shy. Draw your character in three poses: idle, happy, surprised. If the silhouette changes clearly between them, the body is doing the acting.

Tom Bancroft's Creating Characters with Personality (2006) is a great next read here, packed with examples of how a single shape tweak shifts mood.

Repeat

The turnaround sheet

A turnaround shows the character from the front, three-quarter, side and back, lined up on horizontal guides for the eyes, chin and feet. It reveals problems fast: ears that float in side view, a tail that only exists from one angle, a belly patch that changes size.

Draw faint guide lines across the page first, then fill in each view. Once it is consistent, anyone else on a team (or future you) can draw the character on model.

Practice plan

A one-week sketch habit

Day 1 blobs, day 2 proportions, day 3 faces, day 4 poses, day 5 turnaround, day 6 colour, day 7 rest and review. Keep everything in one sketchbook so you can see the evolution. Preston Blair's classic animation lessons, collected as Cartoon Animation, are perfect daily warm-ups for construction with circles.

Ready for colour? Head to Silhouettes and Palettes That Charm, or give your character a job in Brand Buddies and Team Mascots.